Session 3 + End of Chapter 1

Hello and Welcome!
In this session we continued with Chard, Dafnae, and Torsion who had just repelled the invaders from getting into the Keep but were battle worn.
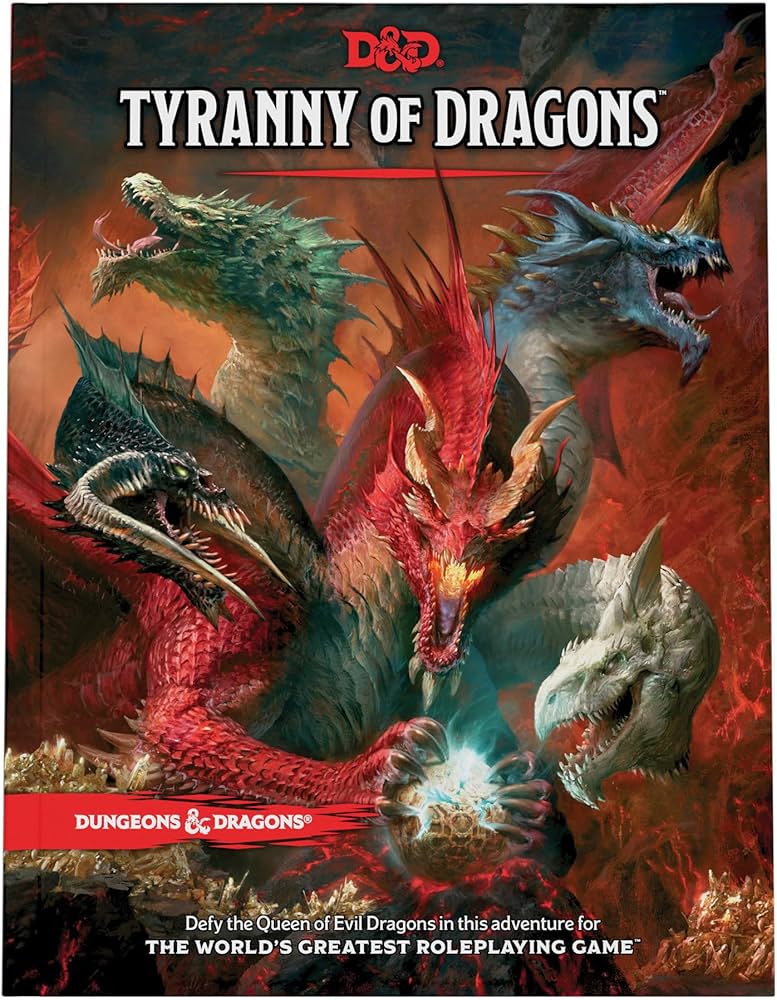
They managed a short rest to regain some HP thanks to some good Hit Dice rolls but were soon alerted by alarms announcing another assault by the raiders. But this time, they directed their fierce Blue Dragon, Lennithon, to attack the Keep!
Lennithon roared and soared above the keep, circling around and repeatedly coming in for attack. With each sweep, he unleased a powerful Lightening attack against the guards on the Wall and several poor soldiers fell after each assault. Each swope brought more and more terror in the form of roars and thunderous Lightening (thanks to repeated high recharge rolls!). The Heroes had to act fast and man the Balista on the turret and after a few misses, they managed to land a hit (thanks to the benefits of Guidance!) in the Dragon's flank. Damaged, Lennithon decided he had enough fun and flapped his giant leathery wings to fly away from the camp and the onslaught on the Keep ended.
But there were not many cheers as the attack left many injured and dead in its wake, but there was relief.
This relief was short lived as a mysterious feminine figure in purple looked menacingly at the Keep and let out a sinister laugh before leaving the Battlefield and in her place stood a towering Half-Dragon (otherwise known as Dragonborn!) with a pack of 20 yipping Kobolds behind him and 4 poor hostages. He introduced himself as Langdedrosa Cyanwrath and bellowed out a Challenge to the Keep - a one on one combat between him and the Champion of the Keep in exchange for the Hostages.
The Keep's army were exhausted and so Torsion stepped up to accept the Challenge. Unfortunately (due to bad rolls by Torsion and heavy damage by the Half-Dragon), Torsion fell and lost the Challange but the beast did stick to the rules and released the hostages, but not without a final departing dirty blow to the unconscious Torsion forcing a Failed Death Save. But as he left Chard and Dafnae rushed in to Stabilise Torsion and take him back to the Keep to heal.
This was the end of Chapter 1.
Finally then the Adventurers had a chance to have a Long Rest and restore themselves.
In the morning, the Heroes woke to see that the invaders were packing up to leave and the town was beginning to emerge and try to restore back to normal life.
The Governor asked the Heroes if they could help to track the invaders to help learn information.
Specifically, he wanted to learn:
- Where the bandit camp is
- How many bandits there are
- Who their leader is
- Where they will strike next
- And if possible, return any of the hostages or stolen goods
Before setting off, the team had an opportunity to upgrade some supplies thanks to the generosity of the Governor and the Party managed to upgrade their Armour (to better Common items - each one got an increase of 1 to their AC) and an extra Healing Potion each.
While doing their item collection montage, they met up with Monks who were in consultation with the Governor who were from Berdusk. They mentioned they lost contact with their brother, Leosin Erlanthar, who was investigating the Cultist activity in the area and they fear that he was taken hostage and if possible, try to return him to safety.
The Heroes accepted the challenge and set off to follow the caravan tracks into the Plains.
It was an easy journey, only of a few hours, and as the landscape changed from rolling plains to more rocky terrain, they spotted a lonely smoke trail from a Campsite up ahead.
Unsure of who were at the Campsite, the team took off from the main trail and approach from the side.
As they advanced, they realised it was a group of Bandits bickering over how to cook some pheasants over a fire with their small pack of Kobolds excited waiting for a bite to eat.
The Party advanced in stealth and luckily the agitated Bandits threw the annoying Kobolds a bit of the uncooked meat to quiet them and they ran off with it to tear into the food.
So the three took the opportunity to get the drop on the Bandits and Surprise attacked them. It was a quick battle as the Bandits started off unarmed (they were trying to cook!) and all but one fell quickly and the last one was knocked unconscious for the purposes to interrogate him. Meanwhile, the cowardly Kobolds ran off (seems the Bandits were right - the Kobolds were a nuisance!). They also found a bag of loot stolen from the Villagers.
The interrogation, thanks to a very high Intimation roll by Chard, and his glowing red Fiendish eye, revealed a lot from the battered and frightened Bandit (they tend not to be loyal!). The heroes found out that the camp was just a few hours up ahead and had a few hundred people / Kobolds in it and were under the control of Frulam Mondath but he did not know where the next target was but just that they were collecting Loot.
They then advanced careful on the top / edge of the canyon they were walking towards, hostage in tow, and after a few hours journey, indeed came upon the Bandit camp.
They saw a makeshift camp split into parts - the lower part for the Kobolds and the higher part for the Bandits. They could see nicely as they were on the top edge of the canyon so could scout safely.
While thinking what to do, they saw the Half-Dragon and the Woman in Purple emerge from a main tent and head towards a commotion that was starting up. The Heroes surmised that she must be Frulam as she seemed in charge.
The commotion was about a prisoner being brought forward who was being called a traitor. From where the Adventurers were, they could see that this figure resembled the missing Monk. He must have been found out! The Half-Dragon bellowed out that we all know what will be done with traitors. And to that Frulam announced that the execution would be at dawn.
And this is where we ended the session with Chard, Dafnae, and Torsion considering what to do and how to save Leosin.
It was a great session and some pictures below where again we used the Dungeon Blocks to finish off the attack with the Dragon and a Paper Map to handle the campfire encounter.
The Party members also just reached level 3 so they will need to take this into considering about whether or not to level up quickly before trying to save the Monk. And of course, how they will go about saving him!
We now have Chard's new character ready and printed and newly designed thanks to Mia Kay so we'll get to show him off next session and then finally be able to do the Bio of each hero soon!
Adam is doing a great job running the adventure, even if rolling consistently well. :-)
Let's see what the Hero's do next!
Happy continued gaming and painting!
-Pete (with Mitz & Simz & now also Torsion, Dafnae, & Chard)


Leave a comment
All comments are moderated before being published.